How to Collect Information for an Event Investigation
An effective event investigation and root cause analysis includes collecting information to understand the context in which the event took place, and developing a chronological timeline that lead up to the event. What it boils down to is:
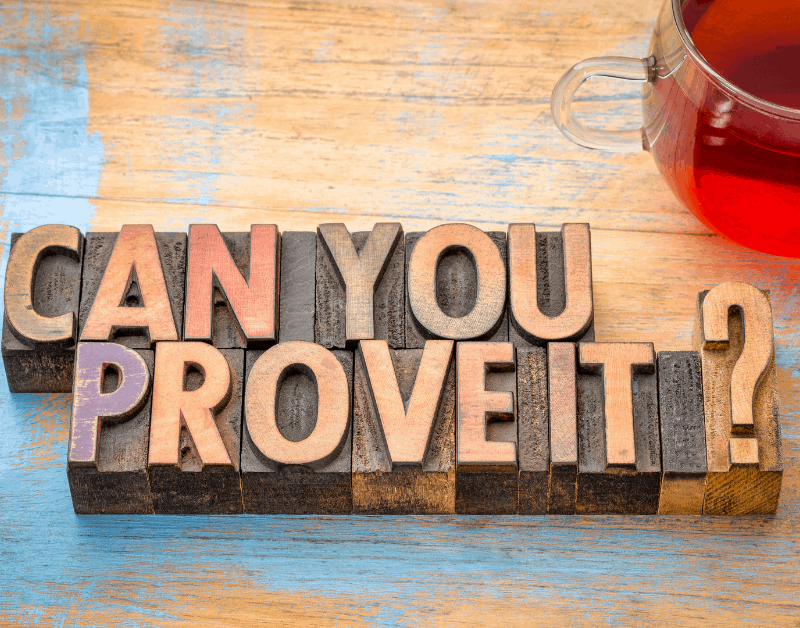
“Can you prove it?”
This is one way you can reduce the possibility of investigator bias clouding the investigation. It also ensures you understand what happened before you dive into the root cause analysis and find out why it happened.
Collecting information can feel like an arduous task, but putting a little structure in place makes it easier.
Getting Started with Information Collection for an Event Investigation.
Don’t make the mistake of rushing in without a plan. Take a moment to evaluate what information you have and what you still need. Before you dive into information collection for your event investigation:
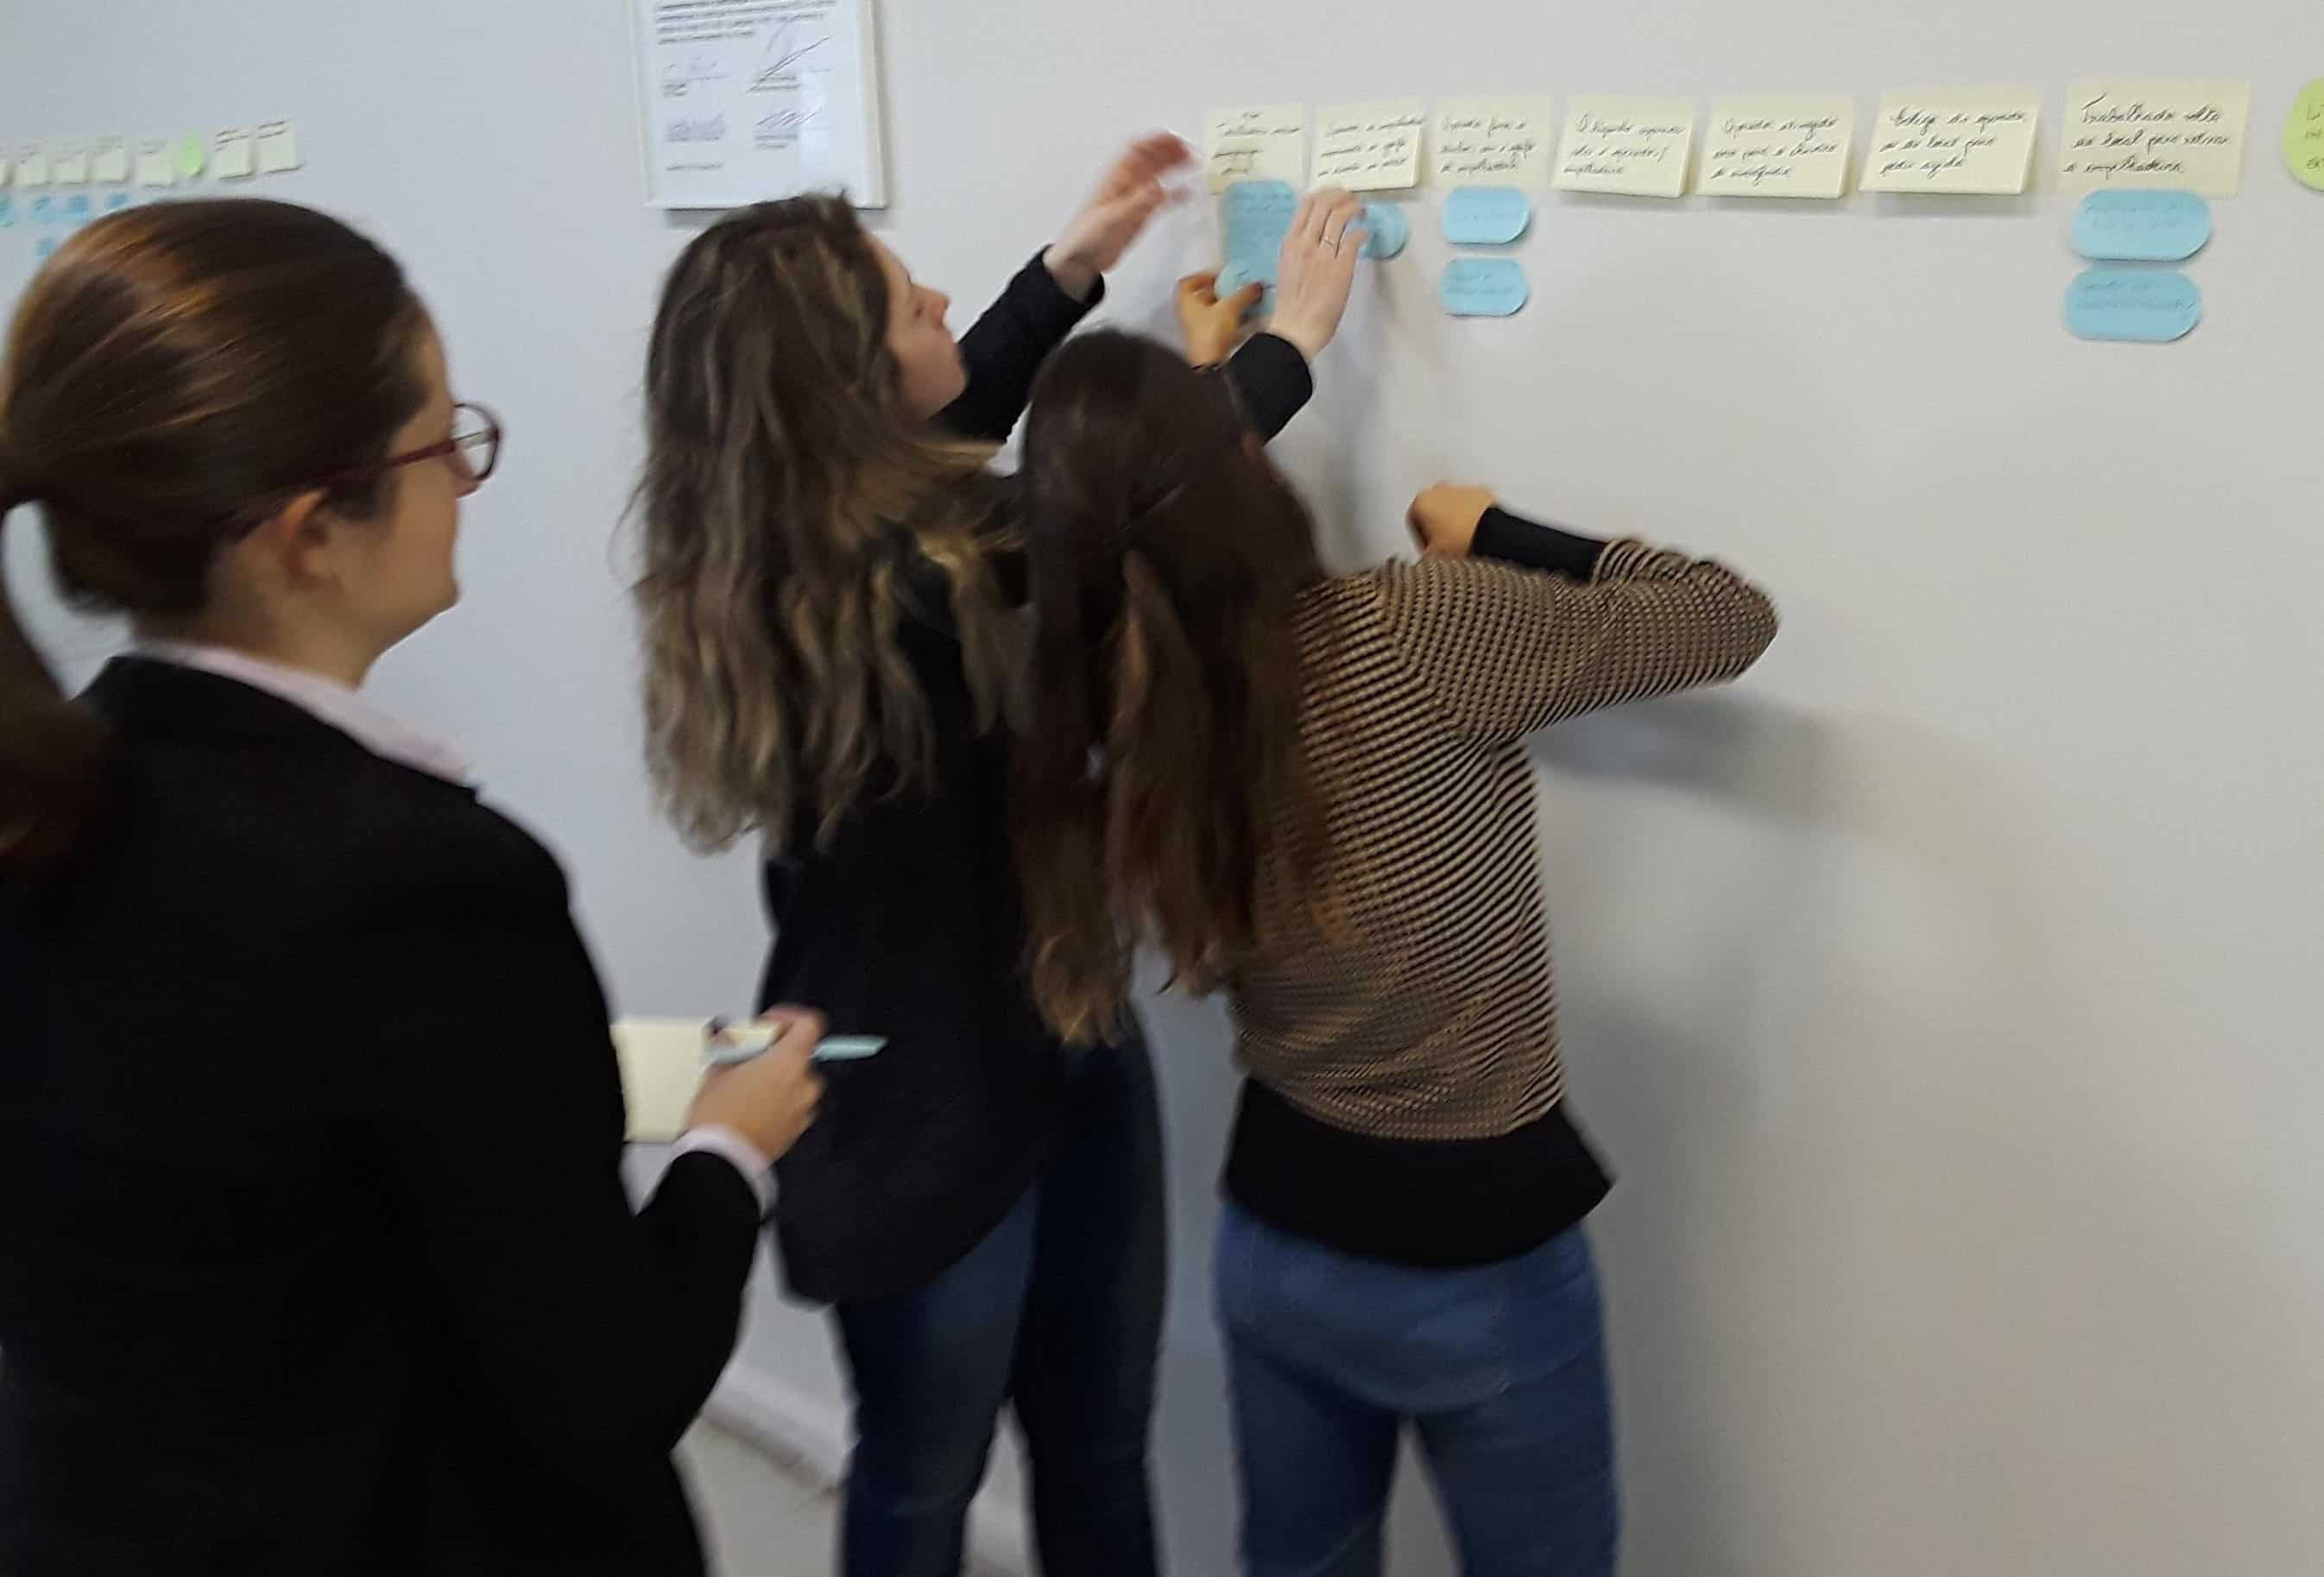
Start a timeline with the worst thing that happened.
In a TapRooT® Investigation, we start with a planning SnapCharT® (a timeline of events that lead to the incident). The first thing that goes on the timeline is the incident (the worst thing that happened). So, we need to get clear on what the incident is. “Pipefitters burned on face and hands” could be an incident if you decide that is the worst thing that happened. Start the timeline with the incident.
Add any information you have to the timeline.
After you have defined the incident, build the timeline around that. What information do you have about the incident so far? You may have some assumptions and some information that have not yet been proven. You can add those things to your timeline but be sure to indicate that they are assumptions and are not yet facts. In a TapRooT® investigation, we do that by putting dotted lines around the information. If the assumption can be proven with facts, we remove the dotted lines and leave the information on the timeline. If it cannot be proven, we remove the assumption. This is one way we reduce investigator bias.
A timeline will help you organize your thoughts about information collection. It will also provide a central repository so you have a place to record all the information you uncover.
Collect information.
When you have a planning SnapCharT® (timeline of events) in place, you can begin collecting information. You are tasked with uncovering the facts of what happened in the work process before the incident and what happened immediately after.
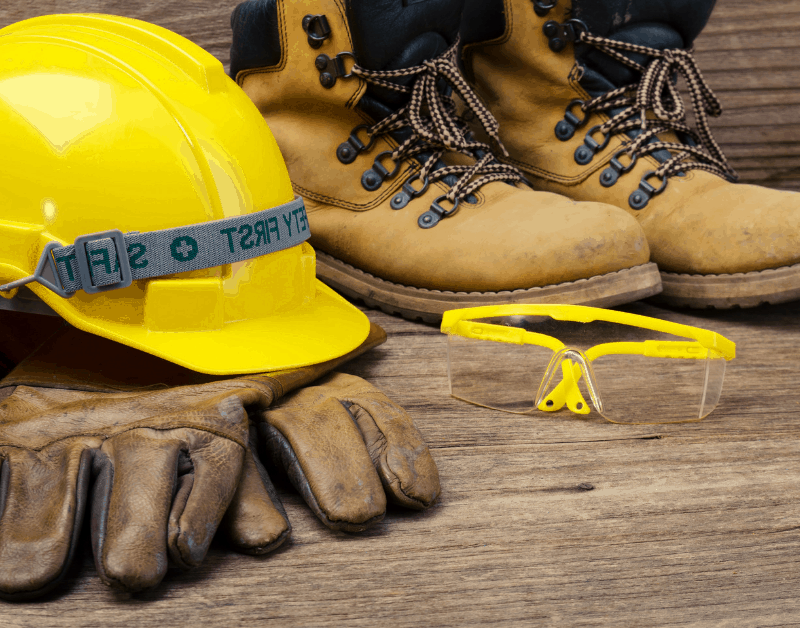
Begin documenting the facts by collecting information about the people involved in the incident, the paperwork connected to the incident, the physical evidence and any recordings (digital evidence). We call this 3 Ps and an R: People, Paper, Physical and Records.

People Evidence
Most of the time, we begin with people evidence such as a witness statement and/or witness interviews. This leads us to other evidence, such as paperwork associated with the job, physical evidence (pieces of equipment or photos of physical evidence too large to collect or still in use at the facility), and recordings (for example: security video or door swipe data).
People evidence may also include fatigue-related information, evidence of injuries, or drug testing.

Paper Evidence
As mentioned above, some common types of paper evidence include activity-specific paperwork. Was paperwork in place as a safeguard for the work process (such as a checklist or JSA)?
Collect the paperwork that was used for the activity as well as a clean copy of the paperwork. Compare them. Was the worker using the most current copy? Has it been altered in any way? Is information missing? Does the information on the paperwork look too good to be true?
There are other types of paper you might want to collect as well. Policies and procedures, equipment manuals, personnel records and regulatory paperwork may be helpful.
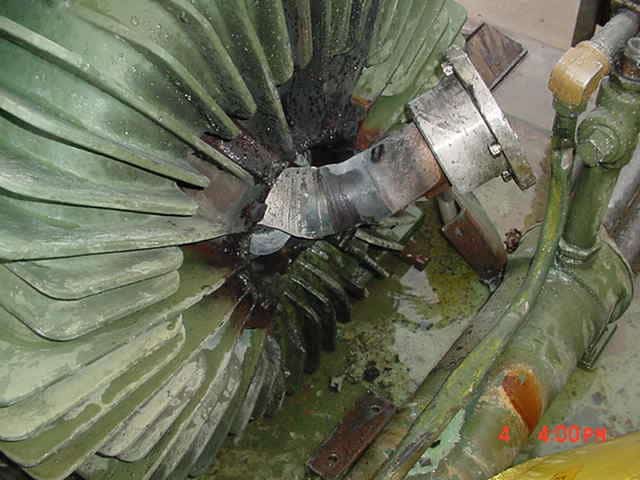
Physical Evidence
Physical evidence can range from a piece of fiber to a very large piece of machinery. Physical evidence may be collected or recorded/documented if it can’t be collected. For example, it is too large to collect, or it is still in use, you might take photos of it to document it.
Types of physical evidence to collect:
- Broken equipment / parts
- Residue / debris
- Fluid samples
- Paint samples
- Fiber
Evidence is recorded (by photograph, video or sketch) when it is impossible to collect or when it is still in use by the workforce. Following is a list of possible evidence to collect by recordings:
- Burn marks and flame patterns
- Tracks
- Indentations
- Fingerprints
- Tools
- Equipment
- Products in use
- Equipment status (fixed, portable or temporary?)
- Lights, noise and temperature
- Confined space
- Obstructions
- Surface hazards
- Housekeeping
- Clarity of signs and labels
- Instructions
Following are additional pieces of information you may want to collect:
- Failure history
- Modification / change of use
- Operator interface
- Maintenance records
- Installing / commissioning
- Storage / transportation
- Procurement
- Design / fabrication

Recording Evidence
Recording evidence, such as photography and video, should be captured as soon as possible after an incident to preserve the scene in images before it is altered in any way. It provides a documented overview of the entire scene. This may occur as soon as you or a qualified team member can obtain access to the scene.
In addition to video and photography recorded by the investigator, recordings include:
- Video footage (examples: site security cameras, control room cameras)
- Audio recordings (examples: an audio of the noise level, voicemail recordings)
- Photos (examples: cell phone photos captured by bystanders to the incident, photos taken before the incident occurred)
- Computer data (example: magnetic swipe card system security data for entry doors, computerized data from process equipment)
- Sketches of an incident scene
As you record the scene, ask “Am I recording the scene as it was in its original state or has it changed in any way?” If the scene has changed, make a note about what has changed.
A note about fragile evidence.
Identify fragile, perishable evidence and immediately document, photograph and collect it. Also, make a note of any transient evidence that can’t be captured by camera or video like smells and temperature. Otherwise, fragile evidence will soon disappear!
Learn more about collecting information.
Better information collection leads to better event investigation. Our self-guided, online evidence collection training shows you how to support the facts of your investigations with solid information in under three hours. Reliable information ensures your root cause analysis leads to corrective actions that fix problems once and for all.